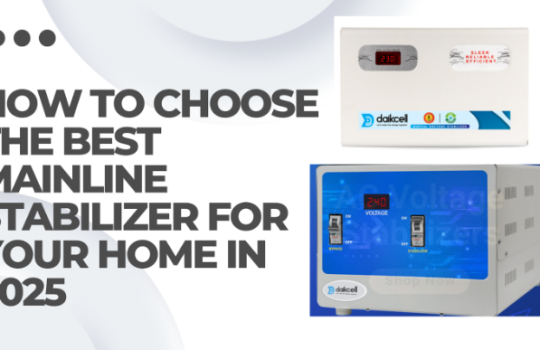
The first step towards safeguarding your beloved yet sensitive appliances and gadgets from power fluctuations is the intent for it. The next steps are relatively easier.
You can purchase exceptional voltage stabilizers, whether mainline, multipurpose, or AC stabilizers, from a brand like Daikcell.
Once the purchasing part is over chances are that if the brand is as committed to providing stellar customer service as Daikcell there is a warranty registration process that needs to be followed for your product to be registered into the warranty period.
This might have made you think, while all that sounds good, how do I register for a warranty for my Daikcell stabilizer? Let us find out:
The Daikcell Commitment
Daikcell is a brand committed to providing the best products and customer service anyone can ask for. This translates to the fact that not only are their products exceptionally well-performing, but they also offer a 1 + 4 year warranty period and an easy replacement process which is completely free of cost.
Daikcell believes that customer satisfaction is the cornerstone of their brand’s foundation and is thus committed to delivering the best of the best experiences to their customers.
Why a Warranty anyway?
If you like many others are not familiar with why it is important to ensure the electronic device you just bought comes with a warranty period, listen up.
A warranty is not just a formality, it is a gateway to reliable support and protection for your investment. By registering your product you activate the warranty period, which in turn ensures you are eligible for free or discounted repairs, replacements as well as technical support as when you need it.
It also helps the brands keep a record of customer purchases, making it easier for them to offer uninterrupted support.

Daikcell Warranty Registration Process
Now that we understand what Daikcell brings to the table with its products and guarantees, let us take a look at the warranty registration process step-by-step:
Step 1: Scanning the Card
First things first once you have received your Daikcell product, take the warranty card that comes with it, use the QR scanner app on your phone, and scan the code on the card. After scanning open the link it will lead you to a Google form which is technically the key to your 1 + 4 year warranty.
Alternatively, you can visit the Daikcell homepage and click on the Warranty Registration Form link which will take you to the form directly.
Step 2: Filling The Form
Now that you have the Google form open in front of you, start filling in all the details with complete care, without missing any field.
The first page of the form requires you to fill in the following details:
- Email id
- Order Date (The Date when you placed the order)
- Purchased From (Website, Amazon, Flipkart, Other)
- Product Name | Model | Purchase Price (Should be available on the platform of purchase or your invoice)
- Order ID (Irrespective of platform or dealer)
- Screenshot of the Order Page / Photo of the Invoice
In your years of using the internet, you must be aware that all fields with an asterisk on their corners are important details and must be filled out without fail to complete the first step of the registration process.
Step 3: The Next Form
Once you have carefully added all the details and uploaded the necessary files on the first page click on the ‘Next’ button to go to the next form.
In the next form, you are needed to fill out three things:
- Email ID
- Contact Number
- Feedback Suggestions (If any)
Once the details are filled click on ‘Submit’ and voila you will have successfully registered your Daickell voltage stabilizer for their 5-year warranty policy.
Registering for a warranty is an important process that you need to follow to enjoy Daikcell customer support services. Whether you need technical support or need to file a claim in case of manufacturing defects this warranty will ensure you get all the support you need as part of the Daikcell commitment to you.


